Discover tips for growing swiss chard from seed indoors.
Have you ever wondered if the secret to a thriving, vibrant garden starts not with a store-bought seedling, but with the humble seed in your own hands? growing swiss chard from seed indoors is not just a rewarding experience; it’s a data-backed strategy for healthier, more robust plants that outperform their nursery counterparts. Studies show that plants started from seed often develop stronger root systems and adapt better to their eventual outdoor environment. But how do you maximize your success when growing swiss chard from seed and ensure those tiny embryos flourish into magnificent swiss chard plant specimens? Let’s dive into the specifics of cultivating this nutrient-packed leafy green right from the start.
Table of Contents
Tools & Soil Requirements
Successfully growing swiss chard from seed indoors begins with the right setup. Think of it as preparing a cozy nursery for your future culinary stars.
- Seed Trays or Small Pots: Biodegradable pots are excellent an choice for minimizing transplant shock as they can be planted directly into the ground.
- Grow Lights: Essential for preventing leggy seedlings, especially in regions with limited winter sunlight. A full-spectrum LED light mimics natural sunlight beautifully.
- Heat Mat: While not strictly necessary, a heat mat can significantly speed up germination, especially if your indoor growing area is on the cooler side (below 70°F).
- Spray Bottle: For gentle watering, ensuring you don’t dislodge delicate seeds or seedlings.
- Labels and Permanent Marker: Keep track of varieties and planting dates – crucial for success, particularly if you’re experimenting with multiple types of swiss chard plant.
- The Right Soil: This is paramount. Opt for a high-quality, sterile seed-starting mix. This specialized blend is lighter, finer, and freer from pathogens than regular potting soil, providing the perfect aerated, moisture-retentive, yet well-draining environment for fragile roots. Avoid garden soil, which can harbor diseases and pests that will quickly derail your growing swiss chard from seed efforts. A good mix will often contain peat moss, perlite, and vermiculite.
Best Planting Season & Timing
Swiss chard is a cool-season crop, making it an ideal candidate for early spring or late summer planting. When growing swiss chard from seed indoors, aim to start seeds about 4-6 weeks before your last anticipated frost date in spring. For a fall harvest, begin indoor seeding 8-10 weeks before your first expected fall frost.
- Germination Time: Swiss chard seeds are relatively quick to sprout, typically germinating in 7-10 days when soil temperatures are consistently between 65-75°F (18-24°C). This is notably faster than many other common edible perennials, offering quicker gratification for eager gardeners!
- Time to Maturity: From seed to harvest, you can expect to be enjoying your homegrown swiss chard plant in as little as 45-60 days. This rapid turnaround allows for multiple successional plantings throughout the growing season.
Step-by-Step Planting Instructions
Ready to transform those tiny seeds into vibrant greens? Follow these personalized steps for successful growing swiss chard from seed indoors:
Step 1: Prepare Your Seed Trays
Fill your chosen seed trays or pots with the prepared seed-starting mix, leaving about a half-inch of space from the rim. Gently moisten the soil; it should feel like a damp sponge, not waterlogged. This pre-moistening ensures consistent moisture around the seeds.
Step 2: Plant Your Seeds
Swiss chard seeds are actually clusters of several seeds, so planting one “seed” often results in multiple seedlings. Space them about 1 inch apart if using a tray, or plant 2-3 seeds per individual pot. Plant them about ½ inch deep. A small divot made with a pencil works perfectly.
Step 3: Cover and Water
Lightly cover the seeds with a thin layer of seed-starting mix. Then, use your spray bottle to gently mist the surface. Avoid heavy watering, which can displace the seeds.
Step 4: Provide Warmth and Light
Place your seeded trays on a heat mat if using one, and position them under your grow lights. Provide 14-16 hours of light per day once sprouts emerge. Keep the soil consistently moist but never soggy.
Step 5: Thinning (The Tough Love Part)
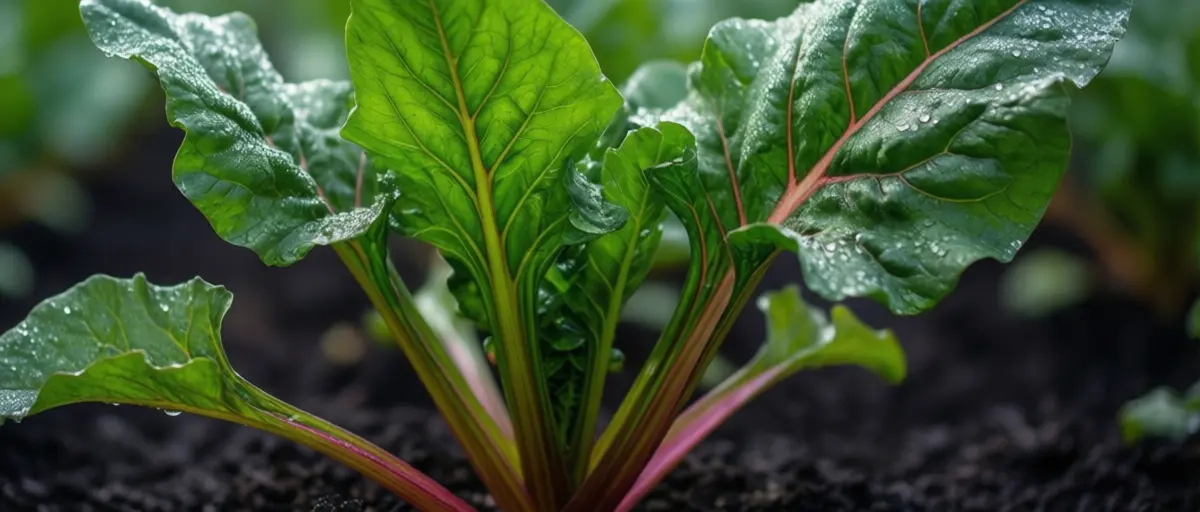
Once seedlings develop their first true leaves (the second set of leaves after the initial “cotyledons”), it’s time to thin them. Since each chard seed is a cluster, you’ll likely have multiple sprouts per spot. Choose the strongest, healthiest seedling and snip the others at the soil line with small scissors. This gives the chosen seedling ample space and resources to thrive.
Step 6: Harden Off (The Grand Outdoor Preparation)
About a week or two before transplanting outdoors, begin hardening off your seedlings. This process gradually acclimates them to outdoor conditions (sun, wind, temperature fluctuations). Start by placing them outdoors in a sheltered, shady spot for a few hours a day, gradually increasing their exposure to sunlight and wind over 7-10 days.
Plant Care Essentials
Once your seedlings are established, careful attention to their needs will ensure a bountiful harvest.
- Water Needs: Swiss chard loves consistent moisture. Aim for about 1-1.5 inches of water per week, either from rainfall or irrigation. Feel the top inch of soil; if it’s dry, it’s time to water. Drought stress can lead to bolting (going to seed) prematurely.
- Sunlight Requirements: This leafy green thrives in full sun (6-8 hours of direct sunlight daily) but can tolerate partial shade, especially in hotter climates. In regions with intense afternoon sun, some afternoon shade can prevent leaf scorching and extend your harvest.
- Temperature Tolerance: Swiss chard is quite resilient. It performs best in temperatures between 60-75°F (15-24°C). It can withstand light frosts down to 20°F (-6°C) and even a touch of heat, making it a superstar in USDA Hardiness Zones 2-10. Optimal soil pH is 6.0 to 6.8.
Best Varieties & Companion Plants
Diversify your garden and enhance its vigor by selecting the right varieties and companions for your swiss chard plant:
- Best Varieties:
- ‘Bright Lights’: A stunning mix of red, yellow, orange, and white stems, adding vibrant color to your garden and plate. It’s also quite heat tolerant.
- ‘Fordhook Giant’: A classic, reliable variety known for its large, crinkled green leaves and sturdy white stems. Excellent for consistent harvests and disease resistance.
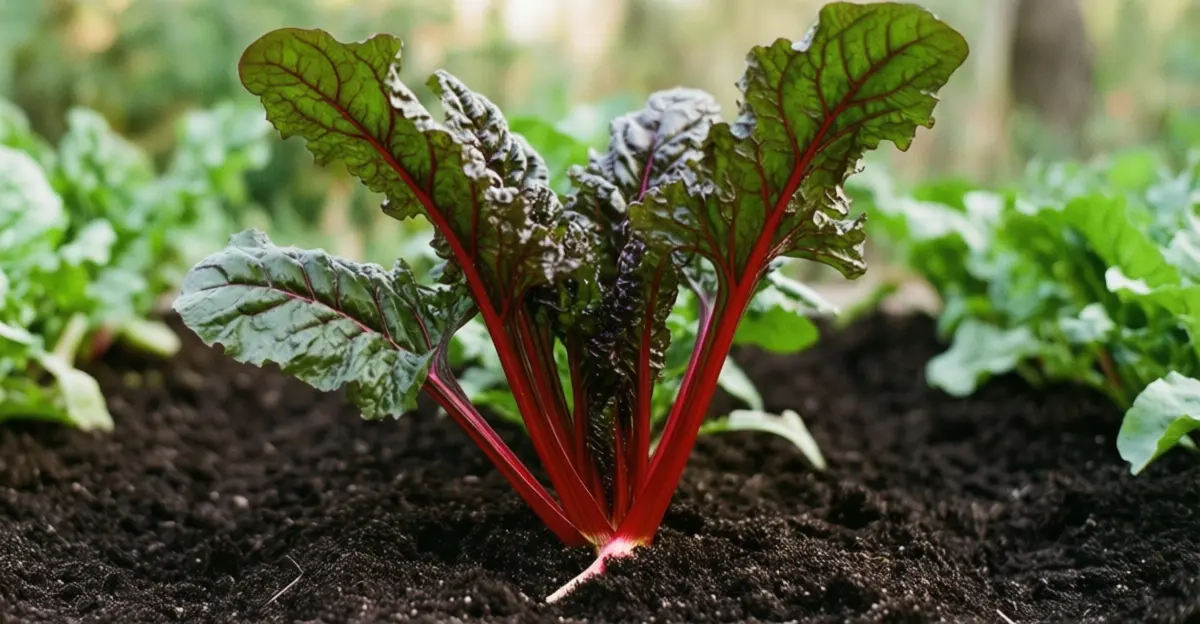
- ‘Rhubarb’ or ‘Ruby Red’: Features striking crimson stems and dark green leaves, adding a beautiful contrast. Often boasts a slightly sweeter flavor.
- Companion Plants:
- Legumes (Beans & Peas): Nitrogen-fixers that enrich the soil, benefiting nutrient-hungry chard.
- Marigolds: Their roots release compounds that deter nematodes, and their vibrant blooms can attract beneficial insects, adding a touch of cheer.
- Nasturtiums: Act as a trap crop for aphids, drawing pests away from your chard. Plus, their leaves and flowers are edible and peppery!
- Radishes: Their quick growth helps break up compacted soil, and they mature and are harvested long before chard needs the space.
Landscape Uses & Harvest Tips
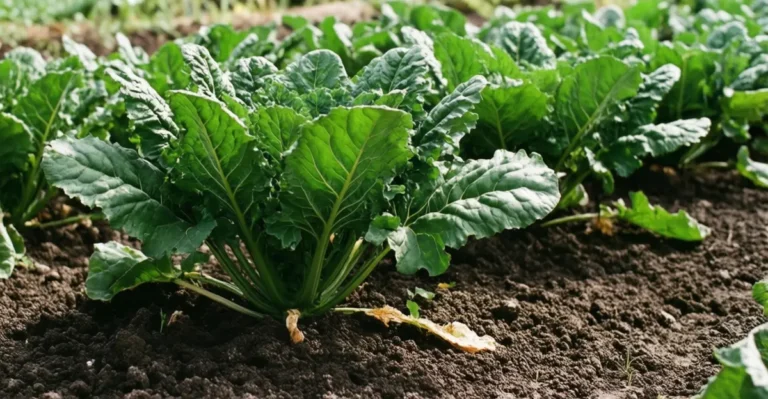
Swiss chard isn’t just for the veggie patch; its striking colors make it a fantastic ornamental!
- Landscape Uses: Plant varieties like ‘Bright Lights’ in mixed borders for a splash of continuous color, or use them as an edible skirting around taller plants. They look magnificent in containers, offering both beauty and sustenance, especially for urban gardeners with limited space. A row of ‘Ruby Red’ chard can create a stunning, edible walkway border.
- Harvest Tips: Start harvesting outer leaves when the plant is about 6-8 inches tall. Use a sharp knife or garden shears to cut the leaves about an inch above the soil line. Avoid harvesting more than one-third of the plant at a time to ensure continuous production. Regular harvesting encourages the plant to produce more leaves, leading to a prolonged harvest from spring through fall, and often even into winter in milder climates.
Common Pests & Diseases to Avoid
Even with the best intentions, your swiss chard plant might encounter a few unwelcome guests.
- Aphids: Small, soft-bodied insects that cluster on new growth. Blast them off with a strong stream of water or use insecticidal soap. Data suggests early detection and treatment are key, as infestations can explode rapidly.
- Leaf Miners: These larvae tunnel between leaf surfaces, creating distinctive squiggly trails. Remove and destroy affected leaves. Covering plants with a row cover early in the season can prevent adult flies from laying eggs.
- Slugs and Snails: They chew ragged holes in leaves. Hand-pick them in the early morning or evening, or set beer traps.
- Cercospora Leaf Spot: Characterized by small, circular spots with purple margins. Ensure good air circulation and avoid overhead watering to prevent fungal issues. Planting resistant varieties can also mitigate this problem.
- Bolting: While not a disease, premature bolting (the plant going to seed) can be caused by heat stress or inconsistent watering. Keep plants well-watered and provide some afternoon shade in hot climates to prevent this.
Seasonal Maintenance & Overwintering
Maintaining your swiss chard plant throughout the seasons ensures a prolonged and abundant harvest.
- Mid-Season Care: Keep plants well-watered, especially during dry spells. Mulching around the base of the plants helps retain soil moisture, suppress weeds, and regulate soil temperature. A monthly
application of a balanced organic fertilizer can boost growth and nutrient density. - Pruning & Deadheading: While chard doesn’t “deadhead” in the traditional sense, regularly removing older, yellowing, or damaged outer leaves redirects the plant’s energy towards producing fresh, new growth.
- Overwintering (in milder climates): In USDA Zones 7-10, swiss chard can often be overwintered. Apply a thick layer of straw mulch (6-12 inches) around the plants once temperatures consistently drop below freezing. This insulates the roots and crown. In spring, as temperatures rise, gradually remove the mulch. You might be surprised to find fresh growth emerging from the hardy plant beneath. For colder zones, succession planting is key to continuous harvest.
Conclusion
From the moment you place that tiny seed in the soil, you’re embarking on a journey of nourishment and beauty. Growing swiss chard from seed indoors offers a head start, stronger plants, and the immense satisfaction of cultivating your own food. With the right tools, a bit of patience, and these comprehensive tips, you’re well on your way to enjoying the vibrant flavors and stunning aesthetics of your homegrown swiss chard plant. So, what are you waiting for? Grab your seeds, get your hands dirty, and discover the joy of nurturing life from scratch! Share your indoor seed-starting photos with us on social media—we’d love to see your progress! And for more amazing edible garden guides, explore our related posts on starting other cool-season crops from seed.
FAQs
Q1: Can I sow swiss chard seeds directly outdoors instead of starting indoors?
A1: Absolutely! Swiss chard seeds can be sown directly outdoors 2-3 weeks before the last frost in spring, or in late summer for a fall harvest. However, starting them indoors often leads to stronger, more established plants that are less susceptible to early pest damage and cold snaps.
Q2: My swiss chard seedlings look leggy. What went wrong?
A2: Leggy seedlings are a common sign of insufficient light. Ensure your grow lights are positioned close enough to the seedlings (usually 2-4 inches above the plant tops) and provide 14-16 hours of light daily. Good air circulation from a small fan can also help strengthen stems.
Q3: How much space does a single swiss chard plant need outdoors?
A3: When transplanting outdoors, give each swiss chard plant about 6-12 inches of space in all directions. This allows for good air circulation and ample room for the plant to reach its full size, providing abundant harvests.
Q4: Can I grow swiss chard in containers?
A4: Yes! Swiss chard is an excellent choice for container gardening, making it perfect for patios and balconies. Choose a container that is at least 8-12 inches deep and wide with good drainage. One plant per 10-12 inch pot is ideal.
Q5: My swiss chard leaves are turning yellow. What’s the cause?
A5: Yellowing leaves can indicate a few issues:
- Nutrient Deficiency: Typically nitrogen. A balanced organic fertilizer can help.
- Overwatering/Underwatering: Ensure consistent moisture without waterlogging.
- Older Leaves: It’s natural for older, outer leaves to yellow and die back. Regularly remove these to encourage new growth.
- Pests or Disease: Inspect closely for any signs of insects or fungal spots.