Understand why proper chard spacing is vital for preventing disease.
Did you know that the secret to a thriving, disease-free chard patch often lies in one simple, yet frequently overlooked factor: chard spacing? It might sound basic, but improper chard spacing can lead to a cascade of problems, transforming a potentially bountiful harvest into a disappointment. Imagine your garden, bursting with vibrant, healthy Swiss chard leaves, ready for your next culinary creation. Now, picture the alternative: limp, yellowing leaves, riddled with fungal spots, unable to reach their full potential. This isn’t just about aesthetics; it’s about the very health and productivity of your plants. This comprehensive guide will delve deep into why adequate chard spacing is non-negotiable for disease prevention and equip you with the knowledge to cultivate robust, delicious chard every season.
Table of Contents
Tools & Soil Requirements
Before you even think about planting, gathering the right tools and preparing your soil are paramount.
Here’s what you’ll need:
- Hand Trowel & Fork: Essential for digging planting holes and loosening soil.
- Gardening Gloves: Protect your hands from dirt and potential irritants.
- Watering Can or Hose with a Gentle Sprayer: For consistent, even moisture.
- Measuring Tape or Ruler: Crucial for precise chard spacing.
- Organic Compost or Well-Rotted Manure: To enrich your soil.
- Soil Test Kit (Optional but Recommended): To understand your soil’s current composition and pH.
Chard, much like its leafy green cousins, thrives in rich, loamy, well-draining soil with a pH between 6.0 and 7.0. Think of it as a luxurious bed for your plants, allowing their roots to breathe and absorb nutrients efficiently. If your soil is heavy clay, amend it generously with compost to improve drainage. Sandy soils will also benefit from organic matter to help retain moisture and nutrients. Chard is quite adaptable but performs best in full sun (6-8 hours daily) in cooler climates, or partial shade in warmer regions to prevent bolting.
Best Planting Season & Timing
Understanding the ideal planting window is crucial for successful chard cultivation. Chard is a cool-season crop, meaning it flourishes in moderate temperatures and can even tolerate light frosts.
- Spring Planting: The best time to plant chard from seed or transplants is 2-4 weeks before the last expected spring frost. This allows the plants to establish before the summer heat.
- Fall Planting: For a continuous harvest, plant a second crop in late summer or early fall, about 6-8 weeks before the first expected fall frost. This ensures a harvest well into autumn, and in some mild climates, even through winter.
Chard seeds typically germinate in 7-10 days, which is approximately 20% faster than many other common garden vegetables, making it a rewarding choice for impatient gardeners! From seed to maturity, expect about 50-60 days for a full harvest, though you can begin harvesting outer leaves much sooner.
Step-by-Step Planting Instructions
1. Prepare Your Garden Bed: Clear the area of weeds and debris. Loosen the soil to a depth of 12-15 inches using a garden fork. Incorporate 2-3 inches of organic compost or well-rotted manure, mixing it thoroughly into the top 6 inches of soil. This amendment provides vital nutrients and improves soil structure, creating the perfect foundation for your chard.
2. Plant Seeds or Transplants: If growing swiss chard from seed directly, sow seeds ½ inch deep and about 2-3 inches apart in rows. If using transplants, dig a hole slightly larger than the root ball. Gently place the plant, ensuring the top of the root ball is level with the soil surface.
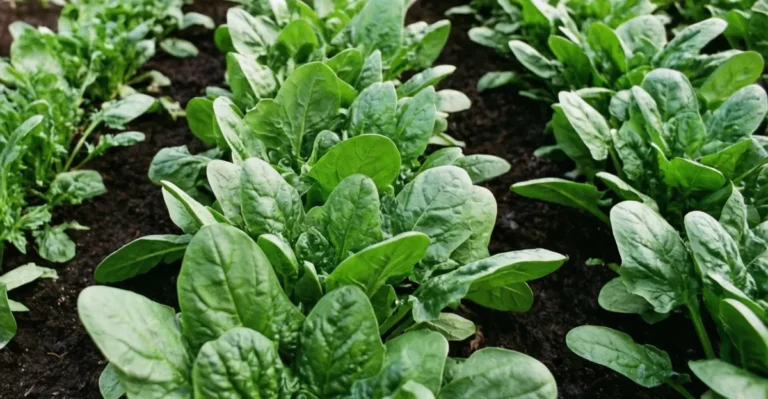
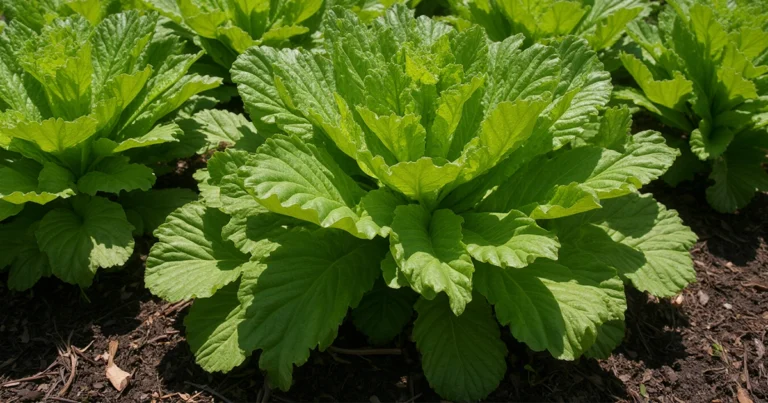
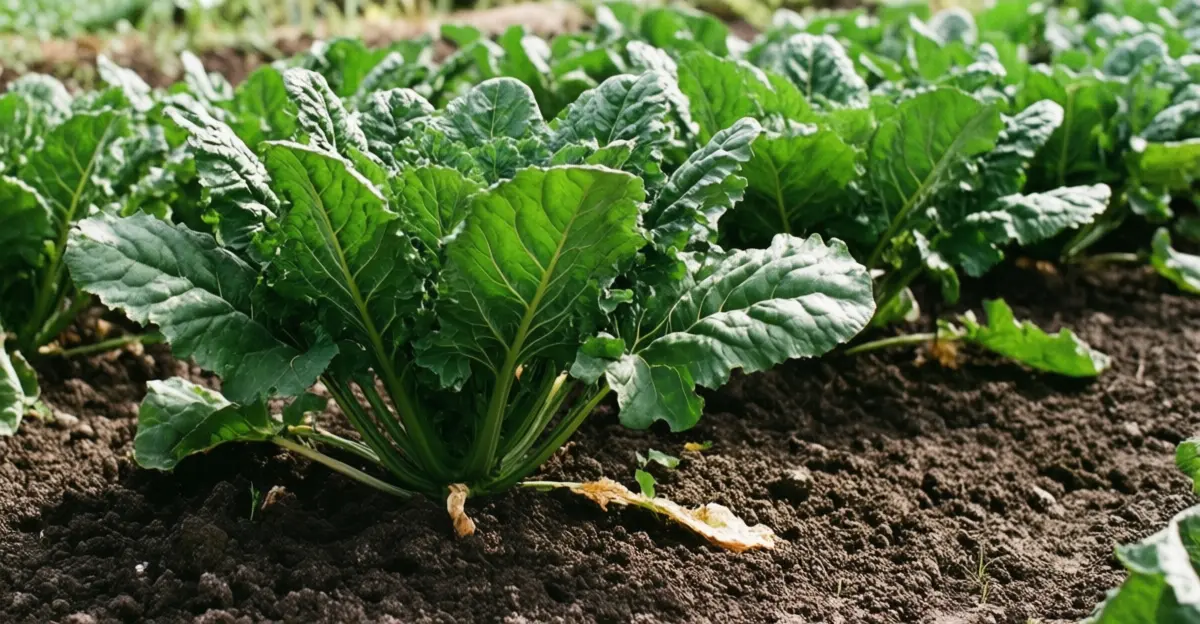
3. The Crucial Step: Thinning for Optimal chard spacing: Once your seedlings are 2-3 inches tall and have developed true leaves, it’s time to thin them. This is where proper chard spacing truly begins. Thin seedlings to stand 6-12 inches apart. This might feel counterintuitive to remove healthy plants, but it’s essential for air circulation and nutrient access, directly impacting disease prevention. For baby chard, you can space them closer, around 4-6 inches.
4. Water Thoroughly: After planting or thinning, water the area deeply and gently. This helps settle the soil around the seeds or roots and ensures good soil-to-seed contact.
5. Mulch the Bed: Apply a 2-inch layer of organic mulch (like straw or wood chips) around your chard plants. Mulch helps retain soil moisture, suppresses weeds, and regulates soil temperature, providing a stable environment for your growing chard.
Plant Care Essentials
Consistent care is key to a flourishing chard patch.
- Water Needs: Chard requires consistent moisture to produce tender, flavorful leaves. Aim for 1-1.5 inches of water per week, either from rainfall or irrigation. Water deeply, especially during dry spells, to encourage deep root growth. Avoid overhead watering when possible to reduce the risk of fungal diseases.
- Sunlight Requirements: Chard thrives in at least 6 hours of full sun daily. In scorching summer climates, however, some afternoon shade can prevent bolting (premature flowering) and scorched leaves.
- Temperature Tolerance: Chard is quite hardy, tolerating temperatures from 20°F (-6°C) to 80°F (27°C). It can even withstand light frosts, which can sometimes enhance its flavor.
- Fertilization: If your soil was well-amended at planting, additional fertilization might not be necessary. However, if growth seems slow, a balanced organic liquid fertilizer (like fish emulsion or a compost tea) can be applied every 3-4 weeks.
Best Varieties & Companion Plants
Experimenting with different varieties and companion planting can elevate your chard growing experience.
Disease-Resistant Varieties:
- ‘Bright Lights’: While not explicitly disease-resistant, its vibrant stems (red, orange, yellow, white) and strong growth make it popular. Proper chard spacing will keep this variety healthy.
- ‘Fordhook Giant’: A robust, classic choice known for its large, crinkled leaves and good resistance to common issues.
- ‘Rhubarb’ Chard: Features striking red stems and excellent flavor, often more resilient in slightly warmer conditions.
Companion Plants:
- Marigolds: Their strong scent deters nematodes and other pests from the soil.
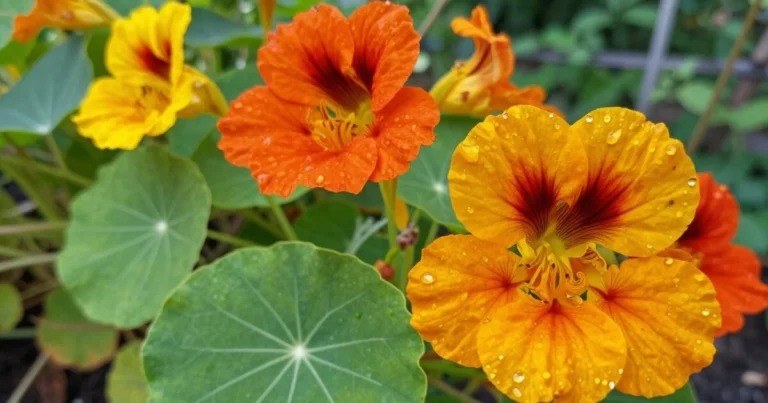
- Nasturtiums: Act as a trap crop for aphids, drawing them away from your chard. Plus, their edible flowers add a pop of color!
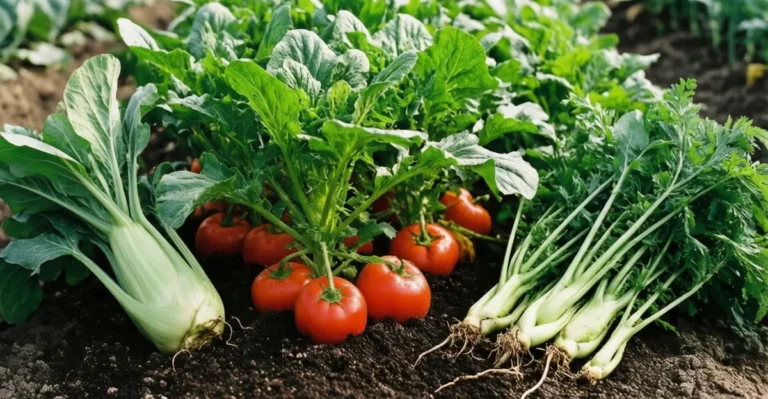
- Radishes & Carrots: These root crops don’t compete for surface space and can even loosen the soil, benefiting chard roots.
- Beans & Peas: Legumes fix nitrogen in the soil, providing a natural nutrient boost for hungry chard.
Landscape Uses & Harvest Tips
Chard isn’t just for the veggie patch; its vibrant stems and lush leaves make it a stunning edible ornamental!
- Garden Design: Use ‘Bright Lights’ chard as a colorful border in flowerbeds or mixed containers. Its structural form and eye-catching hues add texture and a gourmet touch to any landscape. Imagine ‘Ruby Red’ chard alongside silvery lamb’s ear for a striking contrast!
- Container Gardening: Chard is well-suited for containers, especially for urban gardeners. Choose pots at least 10-12 inches deep and wide for adequate root development.
- Harvesting: Begin harvesting outer leaves when they are 6-8 inches long. Use a sharp knife to cut the leaves at the base, about 1-2 inches above the soil line. This “cut-and-come-again” method encourages continuous production. Avoid harvesting more than one-third of the plant at a time to ensure its ongoing vigor. Regular harvesting stimulates new growth, ensuring a fresh supply.
Common Pests & Diseases to Avoid
While proper chard spacing is your first line of defense, knowing what to look for and how to act organically is key.
- Aphids: Tiny, pear-shaped insects that cluster on new growth. Blast them off with a strong stream of water or introduce beneficial insects like ladybugs.
- Leaf Miners: Cause distinctive squiggly tunnels within the leaves. Remove and destroy affected leaves promptly. Floating row covers can prevent adult flies from laying eggs.
- Slugs & Snails: Leave slime trails and irregular holes in leaves. Use beer traps, diatomaceous earth, or hand-pick them in the evening.
- Cercospora Leaf Spot: Small, circular spots on leaves, often with purple borders. This fungal disease is often exacerbated by poor air circulation, highlighting the importance of chard spacing. Remove infected leaves and ensure adequate spacing and good air flow. Avoid overhead watering.
- Downy Mildew: Appears as yellowish patches on the upper surface of leaves and fuzzy gray growth underneath. Again, good air circulation from proper chard spacing is crucial. Remove affected plants and consider resistant varieties.
Seasonal Maintenance & Overwintering
- Ongoing Harvesting: Continue harvesting outer leaves regularly throughout the growing season to promote fresh growth and prevent bolting.
- Weeding: Keep the area around your chard free of weeds, which compete for moisture and nutrients.
- Mulch Refresh: Replenish mulch as needed to maintain its benefits.
- Overwintering (Mild Climates): In USDA hardiness zones 7 and above, chard can often overwinter. Protect plants with a thick layer of straw mulch or a cold frame when temperatures consistently drop below freezing. This can provide you with early spring harvests! In colder zones, chard is typically grown as an annual, but you might get a second flush of growth if protected.
Conclusion
Mastering chard spacing is more than just following a rule; it’s an intelligent gardening practice that directly impacts your yield, plant health, and overall garden aesthetic. By providing ample room for air circulation, light penetration, and nutrient uptake, you’re building a robust defense against diseases, ensuring stronger, more flavorful harvests. From the moment you begin growing swiss chard from seed to the final delicious dish, remember that a little space goes a long way. Are you ready to transform your chard patch into a vibrant, disease-resistant masterpiece? Share your gardening triumphs with us – tag us in your beautiful chard photos! Explore more of our edible plant guides for your next green adventure.
FAQs
Q1: What happens if I don’t thin my chard plants?
A: If you don’t thin your chard, the plants will compete for light, water, and nutrients, leading to stunted growth, smaller leaves, and significantly increased susceptibility to fungal diseases due to poor air circulation.
Q2: Can I plant chard in partial shade?
A: Yes, in areas with hot summers, planting chard in partial shade (receiving 4-6 hours of sun, especially morning sun) can help prevent bolting and stressed plants. In cooler climates, full sun is preferred.
Q3: How often do I need to water chard?
A: Chard needs consistent moisture, about 1-1.5 inches of water per week. The frequency will depend on your climate and soil type. Feel the soil; if the top inch feels dry, it’s time to water.
Q4: My chard leaves have small holes. What’s causing this?
A: Small holes are often caused by common leaf-eating pests like slugs, snails, or flea beetles. Inspect your plants, especially underneath the leaves, and use organic pest control methods like hand-picking or organic sprays.
Q5: Can I grow chard in containers?
A: Absolutely! Chard is an excellent container plant. Choose a pot at least 10-12 inches deep and wide with good drainage. Ensure proper chard spacing even in containers to allow for healthy growth.