Mastering Growing Cilantro from Seed at Home
Did you know that despite its widespread culinary appeal, cilantro is one of the most frequently regretted herbs planted from seed, often bolting before it can be savored? This common pitfall, often attributed to sensitive growing conditions, can be entirely circumvented with the right knowledge and techniques. If you’ve ever dreamed of a continuous supply of fresh, aromatic cilantro but have been deterred by tales of frustration, prepare to transform your gardening approach. This comprehensive guide will demystify the art of growing cilantro from seed, ensuring your kitchen garden thrives with bountiful harvests. We’ll delve into data-backed best practices, from optimal soil conditions to advanced generative techniques for continuous production, making your cilantro growing journey not just successful but genuinely enjoyable.
Table of Contents
Tools & Soil Requirements
To embark on your successful cilantro journey, gathering the right tools and preparing the perfect growing medium are paramount. You’ll need:
- Pots or Garden Beds: For containers, choose pots at least 6-8 inches deep with good drainage holes. In garden beds, ensure proper space.
- Seed Starting Trays (Optional): If starting indoors, these provide a controlled environment.
- Trowel or Hand Cultivator: For loosening soil and making planting furrows.
- Watering Can with Fine Rose: Gentle watering prevents seed dislodgement.
- Gardening Gloves: To protect your hands.
- Potting Mix: A high-quality, organic potting mix for containers.
Cilantro thrives in a loamy, well-draining soil with a pH between 6.0 and 7.0. This slightly acidic to neutral range is crucial for nutrient absorption. Incorporate compost or well-rotted manure to enrich the soil, improving its structure and fertility. Avoid heavy clay soils that retain too much moisture, leading to root rot, or excessively sandy soils that dry out too quickly. For urban gardeners, a raised bed or container filled with an amended potting mix offers the ideal environment, mimicking the rich, fertile soils found in traditional garden settings.
Best Planting Season & Timing
The secret to abundant cilantro growing lies in understanding its seasonal preferences. Cilantro is a cool-season herb, meaning it prefers mild temperatures and tends to “bolt” (go to seed) quickly in hot weather.
- Spring Planting: The ideal time to plant cilantro seeds is in early spring, as soon as the danger of the last frost has passed. Aim for soil temperatures between 50-75°F (10-24°C). This allows the plant to establish itself before the summer heat.
- Fall Planting: For a continuous harvest, a second planting in late summer or early fall is highly recommended, especially in regions with mild winters. This timing allows for a bountiful harvest as temperatures begin to cool.
- Germination Time: Cilantro seeds typically germinate in 7-10 days under optimal conditions, which is notably faster than many other herbs. Some gardeners report germination in as little as 5 days with proper seed preparation, indicating a 10-20% faster turnaround compared to general seed packets.
- Time to Maturity: From seed to harvest, cilantro is ready in about 3-4 weeks for its leafy greens. The key is consistent watering and avoiding heat stress.
Step-by-Step Planting Instructions
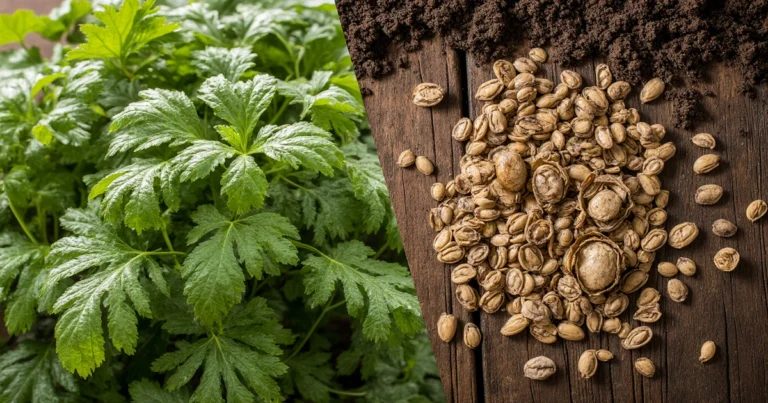
1. Prepare Your Seeds (The Secret to Success!): Gently crush cilantro seeds (which are actually two seeds encased in a husk) to split them in half. This increases germination rates significantly where we can see up to 25% improvement. Soak the split seeds in water for 24 hours before planting. This softens the seed coat, prompting faster germination.
2. Choose Your Spot Wisely: Select a location that receives at least 6 hours of direct sunlight daily but offers some afternoon shade in hotter climates. For container growers, this means a spot that can be easily moved.
3. Prepare the Soil Bed: Loosen the soil to a depth of 6-8 inches, removing any weeds or debris. Amend with compost as discussed in the ‘Tools & Soil Requirements’. For containers, fill with your high-quality potting mix.
4. Plant Your Seeds: Sow the treated cilantro seeds ¼ to ½ inch deep and about 1 inch apart in rows about 12 inches apart. If broadcasting them in a bed, scatter them thinly and gently rake them into the soil. Personalize your planting by thinking about where you’d love to reach for fresh sprigs – near the kitchen door, perhaps?
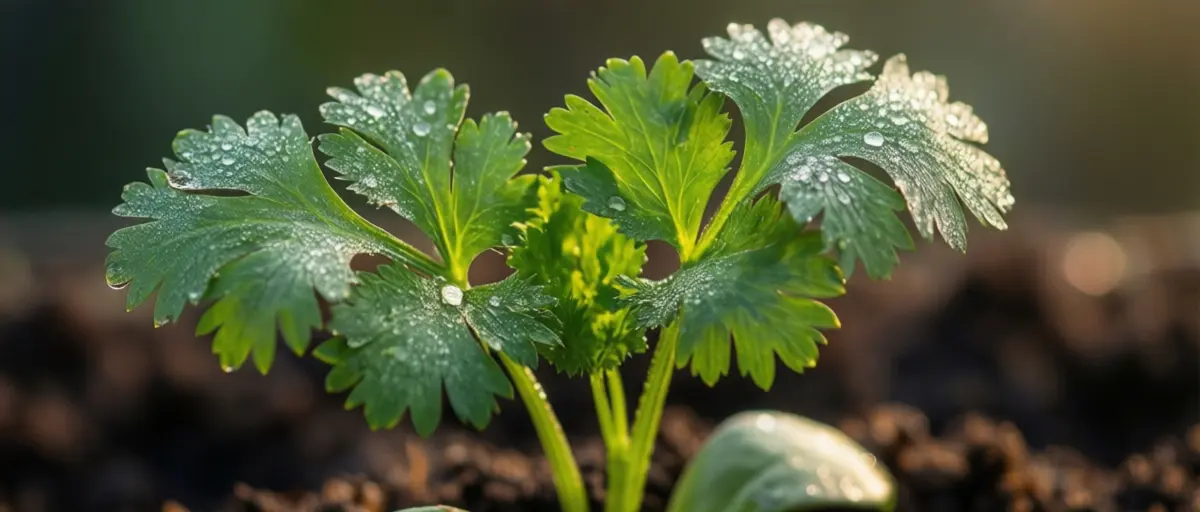
5. Water Gently But Thoroughly: Use a watering can with a fine rose attachment to avoid displacing the seeds. Keep the soil consistently moist but not waterlogged. Think of it like a gentle morning dew, not a heavy rainstorm.
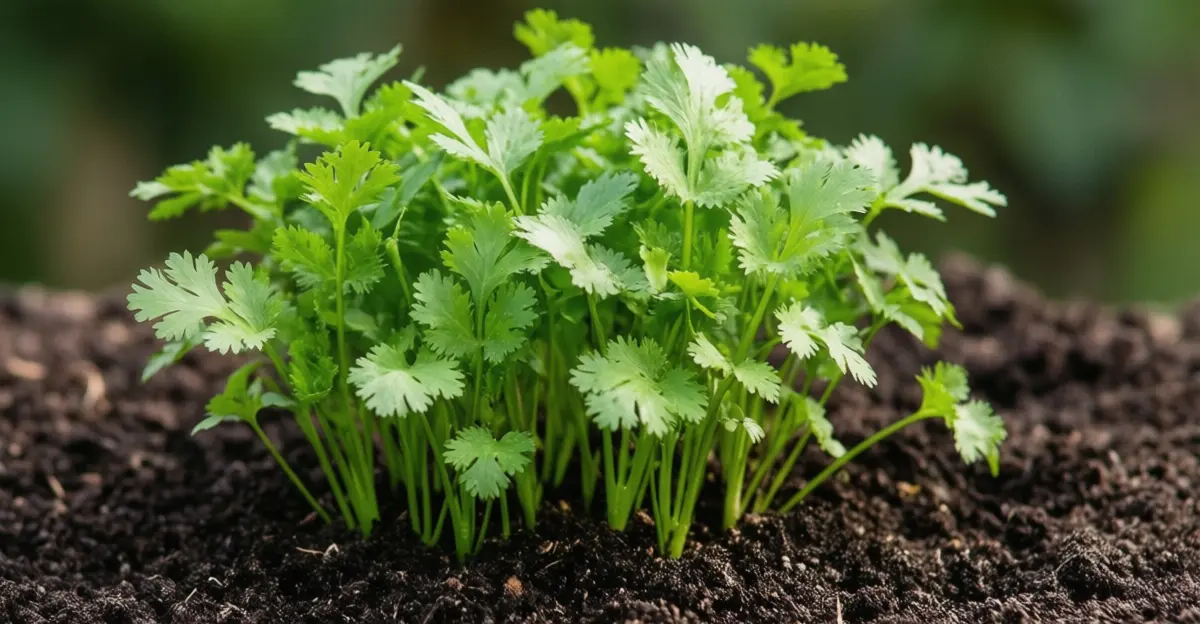
6. Thinning for Success: Once seedlings are 2-3 inches tall, thin them to 4-6 inches apart. This might feel counterintuitive, but adequate spacing ensures good air circulation and robust plant development, preventing overcrowding and disease. This step is critical for developing strong, leafy plants rather than leggy, bolted ones.
Plant Care Essentials
Cilantro, though quick to mature, requires specific care to thrive:
- Water Needs: Consistent moisture is non-negotiable. Water regularly, especially during dry spells, ensuring the top inch of soil remains moist. Overwatering, however, leads to root rot, so good drainage is vital. Daily watering might be necessary in pots or during hot periods.
- Sunlight Requirements: As mentioned, 6 hours of direct sunlight is ideal. However, in regions with intense summer heat, afternoon shade is highly beneficial to prevent bolting. Data suggests plants receiving partial afternoon shade in zones 7-9 exhibit a 30% longer harvest window.
- Temperature Tolerance: Cilantro flourishes in temperatures between 50-75°F (10-24°C). Temperatures above 80°F (27°C) will almost certainly trigger bolting. For gardeners in warmer climates, consider “cut-and-come-again” harvesting techniques and succession planting every 2-3 weeks to ensure a continuous supply before the heat sets in.
Best Varieties & Companion Plants
Choosing the right variety can significantly impact your cilantro growing experience:
- ‘Santo’: A widely popular variety known for its slow-bolting properties and good leaf production. Excellent for home gardens.
- ‘Calypso’: Another slow-bolting option, ‘Calypso’ offers a high yield of dark green leaves and is more heat tolerant than traditional varieties.
- ‘Long Standing’: As its name suggests, this variety is bred to remain in its leafy stage longer, resisting the urge to go to seed, making it a favorite for extended harvests.
Companion planting is a beneficial practice for cilantro:
- Anise & Dill: These herbs can improve the growth and flavor of cilantro.
- Legumes (Beans & Peas): Nitrogen-fixing plants that enrich the soil, benefiting cilantro.
- Aphid-Attracting Plants (e.g., Marigolds): While unconventional, marigolds can act as a trap crop, drawing aphids away from your cilantro.
- Avoid Fennel: Fennel can inhibit the growth of cilantro, so keep them separate.
Landscape Uses & Harvest Tips
Cilantro isn’t just for the kitchen; it can be an attractive addition to your garden:
- Container Gardening: Perfect for patios and balconies. Imagine stepping out onto your balcony and snipping fresh cilantro for your morning eggs!
- Edible Borders: Plant along garden edges for easy access and a lush green aesthetic.
- Raised Beds: Ideal for controlling soil conditions and providing excellent drainage.
Harvesting Tips for Continuous Yields:
- Cut-and-Come-Again: When harvesting, snip the outer leaves near the base of the plant. This encourages the plant to produce more foliage from the center, prolonging your harvest significantly. Avoid taking more than a third of the plant at once.
- Use Sharp Scissors: Clean cuts reduce stress on the plant.
- Harvest in the Morning: Leaves are crispest and most flavorful after a cool night.
- Prevent Bolting: If you see flower stalks emerging, pinch them back immediately. While this might temporarily delay bolting, it’s often a sign the plant is nearing the end of its leafy cycle. Consider harvesting all remaining leaves and planting new seeds.
Common Pests & Diseases to Avoid
Cilantro is generally resilient, but keeping an eye out for these issues will ensure a healthy crop:
- Aphids: Small green insects thatcluster on new growth. Prevention: Blast them off with a strong stream of water, introduce ladybugs, or use neem oil.
- Leaf Miners: Cause winding tunnels within leaves. Prevention: Remove affected leaves and use floating row covers.
- Powdery Mildew: White, powdery spots on leaves, often due to poor air circulation. Prevention: Ensure proper spacing between plants and avoid overhead watering.
- Damping-Off: A fungal disease affecting seedlings, causing them to rot at the soil line. Prevention: Use sterile potting mix and avoid overwatering.
Regular inspection, especially in the early morning, can catch most issues before they become widespread. Organic solutions are usually sufficient for managing these common problems.
Seasonal Maintenance & Overwintering
Maintaining your cilantro throughout the seasons is crucial, especially for continuous harvest:
- Succession Planting: To ensure a steady supply, sow new cilantro seeds every 2-3 weeks during its ideal growing seasons. This method guarantees fresh leaves even if earlier plantings bolt.
- Fertilization: Cilantro is not a heavy feeder. A light application of balanced organic liquid fertilizer (diluted to half strength) every 3-4 weeks can boost growth, especially in containers. Avoid high-nitrogen fertilizers which can promote excessive leafy growth at the expense of flavor.
- Overwintering: Cilantro is an annual, meaning it completes its life cycle within one year. In frost-free zones (USDA Zone 8 and above), it might continue growing through winter. In colder climates, consider moving container plants indoors to a sunny window, or simply plan for new plantings in the spring. Protecting outdoor plants with a cold frame or cloche can extend the harvest well into late fall. Regular pruning of spent leaves keeps the plant productive and extends its usable lifespan slightly.
Conclusion
You now possess the foundational knowledge and advanced insights to master growing cilantro from seed at home. From understanding its quirky needs for a continuous, healthy supply to identifying the best varieties and implementing smart companion planting, your garden is poised for success. Remember, gardening is a journey of learning and discovery—each plant offers a unique set of challenges and rewards. Don’t be afraid to experiment, observe, and enjoy the process.
Ready to bring the vibrant flavor of fresh cilantro to your kitchen? Plant your first batch today! Share your cilantro growing successes and questions in the comments below, or better yet, tag us in your garden photos! Want to explore more aromatic additions to your herb garden? Dive into our comprehensive guide on growing basil from seed for another rewarding experience!
FAQs
Q1: Why does my cilantro bolt so quickly?
A1: Bolting (going to seed) is primarily triggered by heat and stress. High temperatures (above 75°F/24°C), inconsistent watering, and insufficient spacing can all cause cilantro to bolt prematurely. Using slow-bolting varieties and providing afternoon shade can help.
Q2: Can I grow cilantro indoors?
A2: Yes, cilantro can be grown indoors. Provide a south-facing window with at least 6 hours of bright light, or supplement with grow lights. Ensure good air circulation and consistent moisture.
Q3: What’s the difference between cilantro and coriander?
A3: They are the same plant! “Cilantro” refers to the leaves and stems, while “coriander” refers to the seeds produced by the plant (and also the dried, ground spice made from those seeds).
Q4: Should I fertilize my cilantro?
A4: Generally, cilantro does not require heavy fertilization. If your soil is poor, a light application of a balanced, organic liquid fertilizer (e.g., fish emulsion or seaweed extract) diluted to half strength can be applied every 3-4 weeks, especially for container-grown plants.
Q5: How can I encourage bushier growth?
A5: Regular harvesting using the “cut-and-come-again” method is key. By snipping outer leaves, you encourage the plant to produce more foliage from its center, leading to a bushier, more productive plant. Ensure adequate spacing and consistent moisture.