How to Care for Spider Plants: The Complete Guide to Spider Plant Flowers, Spiderettes, and Thriving Pups
Picture this: your grandmother places a small green cutting in your palm, its tiny roots barely clinging to life. “Keep this alive,” she whispers, “and you’ll never garden alone.” Fast forward fifteen years, and that single struggling plantlet has birthed an entire indoor jungle. Dozens of cascading babies now grace every windowsill in your apartment, each one carrying forward that original promise.
Spider plants possess something magical—an almost eager willingness to multiply and share themselves. Whether you’ve just brought home your first Chlorophytum comosum or you’re staring at mysterious white blooms wondering what happens next, you’re about to discover why these striped beauties have captivated plant lovers across generations. More importantly, you’ll learn exactly how to transform one plant into a thriving collection that purifies your air, brightens your space, and gives you endless plants to share with everyone you love.
Table of Contents
Understanding Your Spider Plant: More Than Just a Houseplant
What Makes Spider Plants Special for Indoor Gardeners
Your spider plant isn’t just surviving on your shelf—it’s actively working for you. Native to the coastal regions of South Africa, these adaptable plants evolved to handle challenging conditions, which explains their legendary toughness in our homes. The variegated leaves aren’t just pretty; they’re efficient photosynthesis machines that continue cleaning your indoor air even when you forget to water for a week (we’ve all been there).
NASA’s Clean Air Study identified spider plants as particularly effective at removing formaldehyde, xylene, and toluene from indoor environments. While you shouldn’t rely on plants alone for air quality, having several mature spider plants certainly contributes to a healthier breathing space. Better yet, they’re completely non-toxic to curious cats, playful dogs, and exploring toddlers—a rare quality that makes them ideal for family homes.
The tuberous roots beneath your plant’s soil store water like tiny reservoirs, allowing your spider plant to forgive occasional neglect. Those thick, fleshy roots explain why your plant can bounce back from drought conditions that would devastate other houseplants. This built-in survival mechanism makes learning how to care for spider plants surprisingly forgiving, perfect for building your confidence as an indoor gardener.
How to Care for Spider Plants: Essential Growing Conditions
Light Requirements: Finding the Perfect Spot
Bright, indirect sunlight creates the ideal environment for robust growth and eventual flowering. Think of the dappled light filtering through a forest canopy—that’s what your spider plant craves. An east-facing window provides gentle morning rays without the scorching intensity of afternoon sun. North-facing windows work beautifully too, though growth may slow slightly during winter months.
Watch for warning signs when positioning your plant. Bleached, pale leaves indicate too much direct sun, while the distinctive white or yellow stripes fading to solid green suggest insufficient light. Brown, crispy tips along leaf edges often signal sunburn from harsh afternoon rays. You’ll achieve the best results by placing your plant within six feet of a bright window, protected by sheer curtains if needed.
Watering Your Spider Plant: The Goldilocks Approach
Mastering the watering rhythm separates thriving plants from struggling ones. Stick your finger two inches into the soil—if it feels dry at that depth, your plant needs water. During active growing months from spring through early fall, this typically means watering every seven to ten days. Winter dormancy slows everything down; you might water only twice monthly when temperatures drop and daylight shortens.
Here’s what to watch for:
Overwatering signals include:
- Yellowing leaves that feel soft and mushy
- Dark, water-logged soil that smells sour
- Black or brown roots visible at drainage holes
- Fungus gnats hovering around the pot
Underwatering manifests as:
- Crispy brown leaf tips spreading inward
- Leaves losing their arch, hanging limply
- Soil pulling away from container edges
- Slower growth despite adequate light
Water quality matters more than most gardeners realize. Tap water containing high fluoride or chlorine levels causes those frustrating brown tips that never quite heal. Let tap water sit overnight before using it, allowing chlorine to evaporate. Better yet, collect rainwater or use distilled water for consistently healthy foliage.
Soil, Containers, and Drainage for Optimal Spider Plant Care
The foundation of successful spider plant cultivation starts with proper soil structure. Your plant needs a medium that drains quickly while retaining enough moisture to sustain those thick roots. A simple, effective mixture combines equal parts quality potting soil and perlite, with a handful of compost mixed in for nutrition.
| Ingredient | Percentage | Purpose |
|---|---|---|
| Potting soil (peat or coco coir base) | 50% | Structure and moisture retention |
| Perlite or pumice | 25% | Drainage and root aeration |
| Compost or worm castings | 15% | Slow-release nutrients |
| Coarse sand | 10% | Additional drainage |
Container selection impacts plant health more than aesthetics suggest. Those trendy pots without drainage holes? They’re death traps for spider plant roots. Always choose containers with multiple drainage openings, allowing excess water to escape freely. Start with a pot roughly one to two inches larger than your plant’s root ball—going too big encourages soil to stay wet too long, inviting root rot.
You’ll know repotting time has arrived when roots circle the soil surface or poke through drainage holes. Spider plants actually flower more readily when slightly rootbound, so don’t rush to upsize. Every two to three years typically suffices unless your plant shows signs of stress from overcrowding.
Feeding and Fertilizing: Nutrition for Healthy Growth and Reproduction
The Right Fertilizer Schedule for Spider Plants
Spider plants aren’t heavy feeders, but strategic fertilization supports lush growth and abundant pup production. During active growing months, feed your plant every two to four weeks with a balanced, water-soluble fertilizer diluted to half strength. A 10-10-10 or 20-20-20 NPK ratio provides balanced nutrition without overwhelming your plant.
Consider these natural feeding alternatives:
- Compost tea diluted 1:10 with water delivers gentle, sustained nutrition
- Worm casting tea provides beneficial microorganisms alongside nutrients
- Diluted fish emulsion offers nitrogen-rich feeding (though it smells temporarily)
- Banana peel water adds potassium for stronger stems and disease resistance
- Crushed eggshell powder sprinkled on soil supplies calcium over time
Stop fertilizing completely from late October through February. Your plant enters semi-dormancy as daylight decreases, and excess nutrients sitting in unused soil create salt buildup that damages roots and causes those telltale brown leaf tips.
Spider Plant Flowers: The First Step to Reproduction
Why Your Spider Plant Is (or Isn’t) Flowering
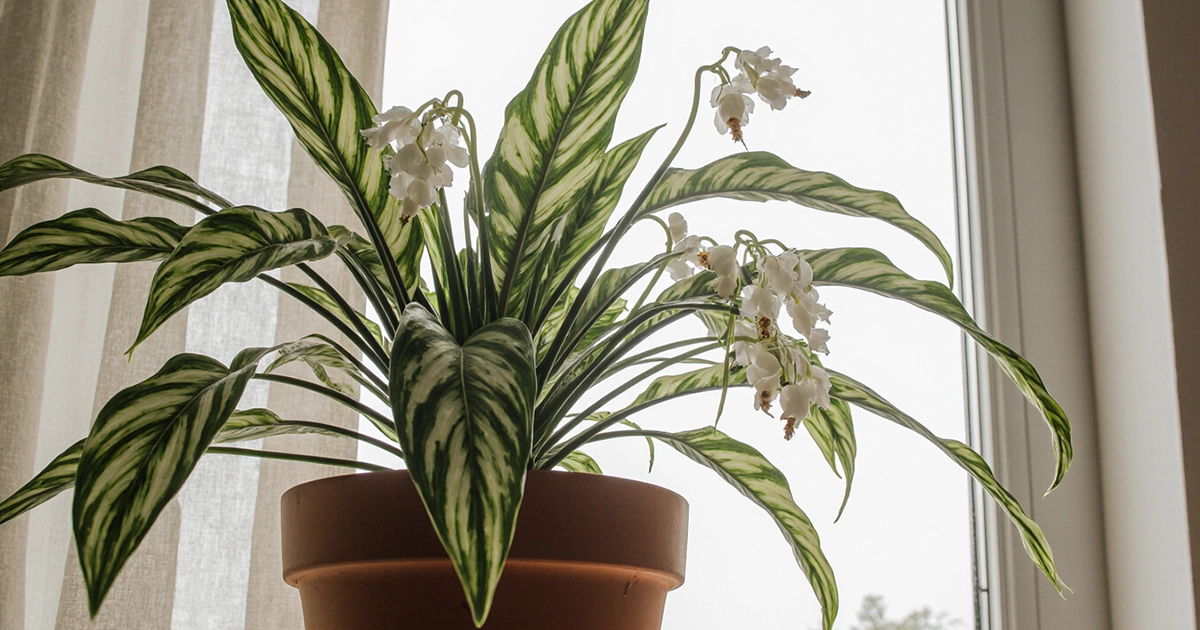
Those delicate white flowers sprouting on long stems signal that your plant has reached reproductive maturity and feels conditions are right for creating offspring. Most spider plants need at least one full year of growth before flowering, though some take two or even three years depending on conditions.
Flowering actually represents a mild stress response. When roots fill their container and resources feel slightly limited, your plant triggers reproduction mode. This explains why recently repotted plants rarely flower—they’re too comfortable! Slightly rootbound conditions combined with longer nights in spring or fall create the perfect flowering trigger.
You’ll first notice a thick stem emerging from the plant’s center, growing rapidly upward. Small buds form along this stem within weeks, opening into star-shaped white flowers about half an inch across. Each flower lasts only a day or two, but the stem produces flowers sequentially over several weeks, eventually transforming those spent blooms into something far more exciting—baby plants.
Spider Plant Spiderettes (Pups): Understanding Plantlet Production
How Spider Plants Produce Baby Plantlets
Here’s where spider plants earn their reputation as the most generous houseplants on earth. After flowers fade, tiny plantlets emerge at the same spots on the flowering stem. These spiderettes, also called pups or babies, start as small rosettes of leaves that gradually develop their own root systems while still attached to the mother plant.
This asexual reproduction strategy allows spider plants to colonize new territory without needing pollination. In nature, those dangling babies would eventually touch soil and root themselves, creating new independent plants while maintaining the parent plant. In your home, you get to decide whether to leave pups attached for that cascading jungle look or harvest them for propagation.
The timeline from flower to harvestable pup typically spans four to six weeks. You’ll notice small bumps where flowers once bloomed, which expand into recognizable miniature spider plants complete with their own leaf clusters. White root nubs appear at the pup’s base within another few weeks—your signal that the baby is ready for independence.
Creating the Perfect Conditions for Spiderette Production
Not every spider plant produces pups with equal enthusiasm. Understanding what triggers prolific production helps you optimize conditions:
| Factor | Optimal Condition | Why It Matters |
|---|---|---|
| Plant age | Minimum 1-2 years | Younger plants focus energy on root establishment |
| Root situation | Slightly rootbound | Triggers reproductive urgency |
| Light exposure | 8-12 hours bright indirect light daily | Powers flower and pup production |
| Watering pattern | Consistent, allowing slight drying | Stressed plants reproduce more |
| Nutrition | Monthly feeding during growing season | Provides resources for pup development |
| Season | Spring through early fall | Aligns with natural growing cycles |
If your mature plant refuses to produce pups despite good care, consider these adjustments. Ensure it’s getting enough light—inadequate brightness is the most common culprit. Allow the plant to become slightly rootbound by skipping a repotting cycle. Some varieties naturally produce fewer pups; variegated types sometimes focus more on foliage than reproduction.
How to Care for Spider Plant Pups: Propagation Methods
Three Ways to Propagate Spider Plant Spiderettes
Method 1: Water Propagation
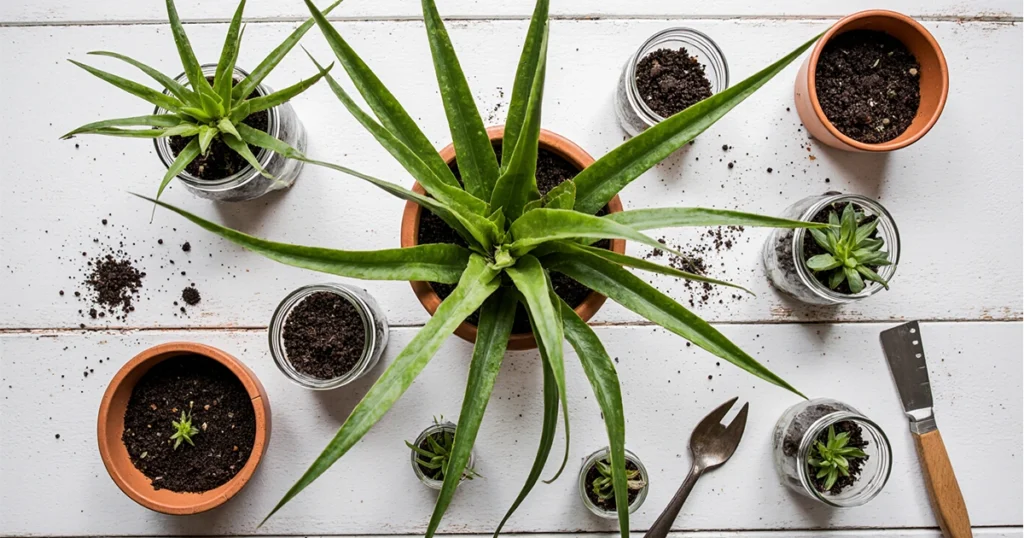
Water propagation lets you watch root development in real-time, making it perfect for visual learners and impatient gardeners (guilty as charged). Select a pup at least two inches across with visible root nubs. Cut or gently twist it free from the mother plant’s stem, then place it in a small container of clean water with only the root area submerged.
Change the water every three to four days to prevent bacterial growth. Within one to two weeks, you’ll see white roots extending from the base. Once roots reach one to two inches long, your pup is ready for soil. This method boasts high success rates and requires minimal equipment.
Method 2: Direct Soil Planting
The fast-track approach involves planting pups directly into moist potting mix. Choose pups with small roots already visible—they’ll establish faster than those without. Remove the pup from its stem, make a small hole in prepared soil, and nestle the baby plant so its base sits at soil level.
Keep the soil consistently moist (not soggy) for the first two to three weeks while roots establish. You’ll know your pup has successfully rooted when you see new leaf growth emerging from the center. This method skips the water-to-soil transition, reducing transplant shock.
Method 3: Layering While Attached
The safest propagation method keeps the pup connected to its mother while rooting. Position a small pot filled with moist soil next to your mother plant. Bend the stem so the pup rests on the new soil surface, securing it gently with a bent paperclip or small stake if needed.
The attached pup continues receiving nutrients from the mother plant while developing its own root system—essentially training wheels for plant babies. After three to four weeks, gently tug the pup. If you feel resistance, roots have formed. Cut the connecting stem and congratulations—you’ve created an independent plant with virtually no risk.
Natural Pest Prevention and Management
Common Spider Plant Pests and How to Deter Them Naturally
Spider plants resist most pests, but problems occasionally arise, especially when plants are stressed or air circulation is poor. Catching infestations early makes control far simpler.
Spider mites show up as fine webbing between leaves and tiny moving dots on foliage undersides. These frustrating pests thrive in dry conditions. Increase humidity around your plant and spray all leaf surfaces with a neem oil solution. Repeat treatments every five to seven days until mites disappear completely.
Aphids cluster on new growth and flower stems, sucking plant juices and leaving sticky honeydew residue. A strong spray of water knocks them off, or you can apply insecticidal soap to affected areas. Introducing beneficial insects like ladybugs provides natural, ongoing control.
Mealybugs appear as white, cottony clusters in leaf joints and on stems. Dip a cotton swab in rubbing alcohol and directly apply it to each visible bug. This method kills them on contact without requiring harsh chemicals.
Prevention beats treatment every time. Inspect your plants weekly, checking leaf undersides and stem joints where pests hide. Wipe leaves monthly with a damp cloth, removing dust and spotting problems early. Quarantine new plants for two weeks before introducing them to your collection—infestations often hitchhike on nursery purchases.
DIY Natural Pest Deterrent Spray
| Ingredient | Amount | Purpose |
|---|---|---|
| Water | 1 quart | Base solution |
| Neem oil | 2 tablespoons | Disrupts pest life cycles |
| Liquid castile soap | 1 teaspoon | Helps ingredients mix and suffocates soft-bodied pests |
| Garlic powder (optional) | 1 teaspoon | Additional deterrent properties |
Mix ingredients thoroughly and spray all plant surfaces until dripping. Apply in the evening to avoid leaf burn from sunlight reacting with oil. Repeat every seven to ten days for active infestations, monthly for prevention.
Troubleshooting Common Spider Plant Problems
Brown Leaf Tips: Causes and Solutions
Those frustrating brown tips plague even experienced spider plant owners. Multiple factors contribute, often working in combination. Fluoride in tap water accumulates in leaf tips, causing browning that never reverses. Switch to distilled or rainwater to prevent new damage, and trim brown tips at an angle following the leaf’s natural shape.
Low humidity exacerbates tip browning, especially during winter when indoor heating dries the air. Group plants together to create a humid microclimate, or place your pot on a pebble tray filled with water. Salt buildup from overfertilization also concentrates in leaf tips. Flush your soil every three months by running water through it for several minutes, allowing excess salts to drain away.
Yellowing Leaves: What Your Plant Is Telling You
Lower leaves naturally yellow and die as plants age—this normal process doesn’t indicate problems. However, widespread yellowing signals issues needing attention. Overwatering tops the list of causes. If your soil stays consistently wet and leaves feel soft, reduce watering frequency immediately. Check for root rot by gently removing the plant from its pot and examining roots. Healthy roots appear white or tan; rotted roots look black, smell foul, and feel mushy.
Nutrient deficiency causes yellowing leaves that remain firm. Feed your plant with balanced fertilizer if you haven’t fertilized in months. Yellow leaves combined with stunted growth often indicate nitrogen deficiency, which compost tea or fish emulsion quickly remedies.
Your Journey with Spider Plants Starts Now
Learning how to care for spider plants opens doors to a lifetime of green companionship. These forgiving plants tolerate mistakes while rewarding attentive care with cascades of offspring. From that first flower stalk to watching dozens of pups dangle like nature’s chandeliers, spider plants offer constant opportunities for learning, sharing, and growing.
Your plant’s personality will emerge over time. Some shower you with babies within their first year, while others take their time building strong roots before reproducing. Both approaches are perfectly normal—plants, like people, develop at their own pace. What matters is providing consistent care, adjusting as you learn your plant’s preferences, and enjoying the journey.
The generosity of spider plants extends beyond their growth patterns. Each pup represents a gift ready to share with friends, family, coworkers, or that neighbor who complimented your plants. These babies carry forward your care and attention, creating living connections between people and spaces. Your grandmother understood this when she handed you that first cutting years ago.
Start examining your spider plant with fresh eyes today. Check the soil moisture, evaluate its light exposure, and look for signs of new growth or emerging flower stalks. Make one improvement based on what you’ve learned—adjust its position for better light, switch to filtered water, or prepare a pot for that dangling pup you’ve been meaning to propagate.
Your spider plant is ready to thrive, multiply, and fill your home with vibrant green life. The question isn’t whether you can master spider plant care—it’s how many plants you’ll be gifting this time next year. Take that first step today, and watch what grows from a single act of attention and care. Your future jungle awaits, one pup at a time.